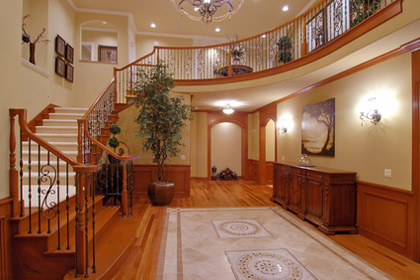
Many
homeowners are switching there traditional lighting sources for
the newer pot lights or recessed lighting to save money and
energy. Remodeling a home to accommodate pot lights is a good
idea and one in which the lighting technique will pay the
homeowner back over time. Many
homeowners are switching there traditional lighting sources for
the newer pot lights or recessed lighting to save money and
energy. Remodeling a home to accommodate pot lights is a good
idea and one in which the lighting technique will pay the
homeowner back over time.
There are a few steps to
Changing a Pot Light Bulb if a homeowner wants
to do it themselves instead of calling an electrician or
electrical contractor to do it for them. If the pot light is
pretty high, such as outside under the eves, it might be best to
call on the experts to change the bulb. If it's in the basement
on a drop ceiling, then it's pretty straightforward on how to
change the bulb and a homeowner can do the job
themselves.
It is not necessary, but some people feel
they should turn off their electricity when changing light bulbs
of this kind. If a homeowner is leery of electrical shock or
electricity in general, then they could turn off their house's
electrical power for a few minutes while installing the new pot
light bulb.
First, remove the trim from the pot light.
This is the round piece of trim or covering that is up against
the ceiling that covers the pot light. It should be easy to snap
off. If it is glass, be careful pulling it down. Set the round
trim piece aside where you will find it when you are done
changing the bulb.
Next you will see that the canister
or pot light is exposed and this is where the entire lighting
fixture must be removed. It should come out of the hole fairly
easily, maybe with a little bit of wiggling; the pot light will
come loose and slip out of the hole. Hold it tightly, although
it is attached to the ceiling with a wire plug, it could still
slip out of your hands and crash to the floor.
With one
hand holding tight to the pot light, reach the other hand up and
unplug the little socket or plug that is connecting the pot
light to the electrical source. Do not pull the entire pot light
away from the plug for this could pull the wires out of the
socket portion of the plug mechanism.
Once the pot
light has been successfully removed from the ceiling, it is time
to change the bulb. The bulb should slip out easily and the new
one slips in its place. Hold the pot light up to the opening
and reattach the plug to the electrical plug so the light will
work again.
Once the pot light is securely back in the
hole, replace the trim circle which should easily snap back onto
the pot light. If you have turned off the electricity, now is
the time to turn it back on and turn on the pot light to make
sure it works.
Many of the pot lights have low-heat,
low-energy yet high efficiency light bulbs that will last a
fairly long time. Typically, when one Pot Light
Bulb burns out, the others will soon follow,
especially if the pot lights were all installed at the same
time.
|